Saturday, October 13, 2012

Chicken update 10/13/12


At 11 weeks old, the flock is growing and still doing really well.  We sent 6 hens, 2 of each variety to Nikki's Aunt's farm to help bolster her laying flock, as well as to relieve the crowded feeling the pen was getting now that the birds are bigger.  We currently have 20 birds, including 3 roosters.


We feed them and move the pen first thing in the morning.  When I get home from work, they are lined up, ready for some action.  I let them out When I'm working outside and can keep an eye on them.  It reminds me of little kids running out to recess when I let them loose in the afternoon.  We have still been fortunate enough not to lose any to predation, but we have had some close calls lately.
 
 
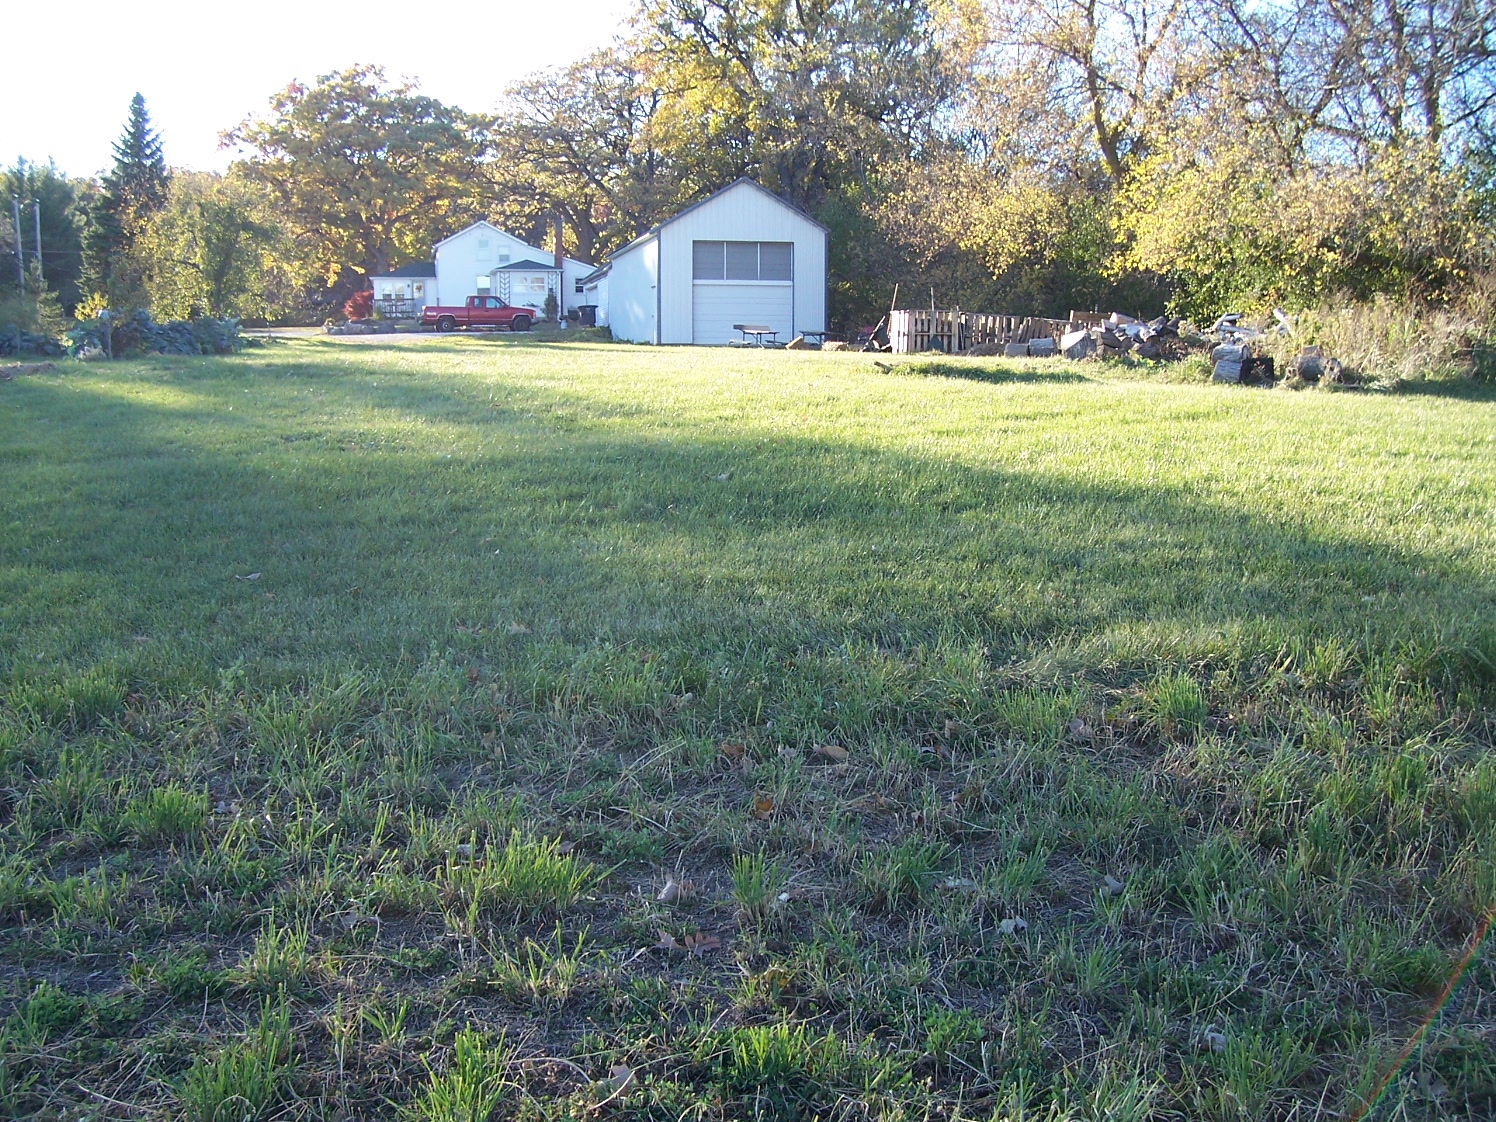
Two days ago, the flock was out running around while Nikki and I were taking care of some yard work.  I happen to be walking up toward the house, when I saw a bird in my periphery.  I suddenly realized that it was a large hawk, wings swept back, diving toward the chickens.  I shouted like a crazy man, and the chickens scattered.  The raptor veered off behind the garage out of sight.  Heart pounding, I ran around the corner just in time to see it leap off the ground from next to the garage door and off to the North.


The very next day was much more traumatic.  Once again, the flock was roaming free while I took some pictures in the lasagna gardens.  I head a squawking commotion and ran up to see a large Red Tail hawk, wings flapping, circling around the big pine tree about 8 feet off the ground.  The hawk screeched defiantly as I bellowed my best angry cave man impression and waved my arms in the air.  The determined hawk flew up and stopped about 6 feet in front of my face and screeched again; then faster than I could think, it pivoted and flew 20 feet over to a small pine where half a dozen hens and the gold rooster were hiding.  I hollered and ran toward it, and it flew away.


The chickens were totally freaked out.  I spent the next 45 minutes or so collecting the silent birds and putting them back in the pen.  On of the araucanas was so riled up that I couldn't catch her.  She ran from the little pine tree to the big one and circled the trunk away from me until I gave up.  She didn't come back to the hoop coop until sundown.  As I put the rest of them in the pen they ran and hid behind the brooder and wouldn't even come out to eat some fresh crumbles.

So we still have all the birds (knock on wood) but I am really anxious to get some more tree and shrub cover for them.  And as the attacks are happening just when the leaves are dropping, I am seeing the value of including some coniferous cover in the food forests.

The temps are starting to drop, and I need to construct a heated version of out water bucket very soon.  Will also be insulating the hoop coop with straw bales and parking it for Winter.  We will be switching over to the deep litter method for the season, and begin a rotating paddock system in the Spring.


Friday, October 12, 2012

Pepper, Sweet, Margaret's

Margaret's Pepper

Capsicum annuum

Large, sweet peppers with a pointed end.  Growing 5-7" long fruit after 62 days.  Peppers are good green and even better when they mature turning green then orange darkening into a deep red.

Growing:

Start indoors 6-8 weeks before the last average frost.  Plant in full sun in rich, well drained soil.

Seed Saving:

Save seeds from large fully ripe (red) peppers.  Simply cut open the pepper and remove the seeds.  Dry on a plate or bowl in a warm area with good air circulation until seed breaks easily when folded.  Protect from moisture and store in a cool, dark place.
Will cross pollinate with other sweet and some hot peppers through insect pollination.  Protect with cages or seperate plants by min 30' from other peppers.

Needs:

Sunlight
Water
Soil
Nutrients
Pollination
Protection from wind
Protection from frost

Products:

Peppers- edible vegetable
Leaves
Flowers
Roots

Planning a Food Forest... or seven.

I made this crude but fairly accurate plat of our L shaped property using sketchup.  I'm trying to figure out a rotating paddock system for our chickens based on the 164' movable electric poultry netting that we plan to purchase this Spring.  The lighter green borders represent mowed paths that will allow us to setup the electric fencing without shorting it out, as long vegetation tends to do.  The darker green  represents 7 areas roughly 1000 square feet a piece that I am planning to convert from lawn into food forest/poultry pasture areas.  I left a nice wide path down the middle to allow a vehicle to pass if needed for some reason, and made sure to keep enough room to easily turn a small trailer around behind the barn.

This I see as an opportunity to get creative and treat each forest as it's own entity, though keeping in mind how they interact with each other and the surrounding environment.  Some ground rules are that each one must have at least one feature for humans, and a water feature of some kind. (Eventually)  The goal is to produce a multifunctional space that is a poultry pasture, an orchard, a vegetable garden, and a park like comfortable place to be all in one. 
I really would have liked to use more interesting shapes, and created more edge space.  However, the fencing we are looking at only comes with 5 posts that can act as a corner, and the rest of the built in posts are only good for straight sections.  So I am stuck with trapezoids in order to fulfill those two very important chicken needs of protection and control.  Although now that I am writing this it occurs to me that I could shift the paths to longer angles, getting away from rectangles and creating longer edges with all trapezoidal pastures.  Hmmm....  might have to try drawing that up when I get a chance.


The whole process starts here, which is the trapezoidal section viewed from the smallest side.  The stake and birdhouse on the right mark the corner property mark.  The pine trees are on the neighbors side.  The tree in the foreground is a black walnut, and in the background is an ancient pear, both of which will be Incorporated into the forest.  There is an old cistern under the pear.  The top is in good condition, but I haven't yet had an opportunity to open the cement plug and see whats inside.  I am hoping that It can serve as a functional water storage for irrigation and livestock.

To get the process started, I am going to fence off the area for the chickens and overwinter them there.  We are planning to use the mobile pen we built, winterizing it with straw bales and a canvas tarp.  At that point we will be switching from our Salatin type pasturing to the deep litter method.  We will let them out to forage in the fenced in area and add high carbon mulch (woodchips, straw, leaves) for them to spread around.  By mid Spring or so I expect the grass will be pretty well suppressed.  At that point we will move the poultry to a new paddock. 


When the grasses are mostly gone, the next step will be constructing earthworks for water retention and texture, though I'm still not sure what that will look like.  The slope of the land is mostly a gentle downhill toward the back of the property which is East.  Though just behind the barn it also pitches down to the North, to the neighboring property where the land drops down sharply.  I am still trying to figure out the best way to incorporate swales and water management into the design without interfering with fence operation, mowing the paths, or the overall comfort of navigating the site.

Immediately after the earthworks are constructed, the area will be seeded with Fukuoka style seed balls, containing a Sepp Holzer style blend of pioneer plants, nitrogen fixers, dynamic accumulators, fruit trees, shrubs, vegetables, herbs, and flowers.  After that we observe and interact, adding plants and bulbs where it seems appropriate, thinning, coppicing, mulching, building interesting features for people, and finding smaller winding paths inside the area. 

Most of the seeds on my list are in hand.  I am working on a chart to identify which of them require stratification or heat treatment, which I want to try doing before making the clay balls.  Also several of the seeds require light to germinate, so I am thinking I will scatter them loose as well as a few stuck to the outside of the wet clay balls.  Still working on the chart, but here is the basic list.

Seed List

Apple
Asparagus
Astilbe
Beans
Black Eyed Susan
Blueberry
Butternut Squash
Chamomile
Cherry
Chestnut
Chicory
Cucumber
Daikon Radish
Delicata Squash
Echinacea
Fennel
Goumi Berry (If I can find some)
Ground Cherries
Hairy Vetch
Hickory
Kale
Lettuce
Marigold
Millet
Nasturtium
Nectarine
Oak
Parsley
Pea
Pear
Peach
Plum
Rhubarb
Safflower
Strawberry Spinach
Siberian Pea Shrub
Swiss Chard
Sunflower
White Clover
Yarrow

Plants to Plant or Allow later

Almond
Crocus
Daffodils
Dandelion
Elderberry
Hyacinth
Iris
Lambs Quarters
Raspberry
Plantain
Purslane
Strawberry
Tulip

The seeds will be mixed in whatever proportions feel right at the time, though I will probably have to sort them by size to make the seed balls.  I am going to take a note from Fukuoka on this one and sew the mix with a child like mind.  Without care or planning.  Then let nature decide what goes where, while I observe and make small adjustments.

So that's the plan so far.  I have the rest of fall and winter to figure out my earthworks for the first one and get my seeds prepped and make the seed balls.  Please leave a comment if you have any constructive input or concerns.


Friday, October 5, 2012

Planting Potato Onions with Hex Spacing


On October first I planted the Potato Onions I managed to save from last years 8oz. starter package from Southern Exposure, as well as the largest cloves of the soft neck garlic I grew last year (variety unknown). 


This is the second time I have tried hexagonal spacing using my homemade guides.


They are just plywood with thin strips of wood attached to mark the edges, a cork to mark the middle, and a handle on the back.  The wood is treated with a preservative made from 5 parts mineral oil and one part bees wax, gently heated to blend, then cooled and applied as a paste.


I planted them in the big lasagna bed, in the row where we had all the squash plants earlier this season.


Starting in one corner, I used my 8" guide, and made an impression on the surface of the bed.


Then I simply filled in the pattern, leaving an onion set in the center of each hex so I didn't lose my place.  Working in this pattern takes a little more focus than working in a line or a grid, but I'm thinking it will be worth it as it allows the plants to better cover the soil and act as a continuous living mulch.

 
So these are all the onions I managed to save from harvest in July.  Pretty sad, but I'm hoping they'll divide this spring and I'll have lots of little ones for the next planting.  I continued the pattern, and planted the soft neck garlic along the rest of the row.


My first foray into hex planting was with the Brassicas this spring.  I made 3 different guides set up for 8", 12", and 15" plant spacing.  I used the 12" guide, but I in retrospect, the 15" would have been a better choice. 
 
 
The open space on the left side of the bed is where the potato onions were this season.  Overall it worked out nicely and we were able to harvest some broccoli and Kale.  An unseasonably warm late Winter into early Spring fooled me into planting early, only to lose my first two sets of starters to unseasonably late frosts, so it took me three tries to get the starts established.  The hot dry summer made all the plants bitter, and sent the broccoli to flower, we had to cut them back and allow them to regrow in the cooler weather of late August into September.  Then the Kale and Broccoli were sweet and delicious.  The Cabbages stayed small, and the Brussels sprouts never formed up, not really sure why.


We stuck Harlequin Marigold seeds in between the starters for some color, to attract beneficials, and repel nematodes.  It worked nicely, the tall marigolds started later and poked up between the brassicas.  The Red Russian Kale got a little chewed up, but the Curled Blue Scotch Kale and the Broccoli were flawless, no sign of any worms.


Monday, October 1, 2012

Chicken

Chicken

Gallus domesticus


 Needs:

Water
Food
Fresh air
Grit
Dust
Perch
Control
Protection
     From elements
     From predators

Products:

Eggs
Meat
Manure- high in Nitrogen, good compost additive, mix with high carbon material. 
Feathers -high in phosphorous, good compost addition
Heat
Insect removal
Plant removal
Seed removal
Scratching, turns top layer of mulch or loose soil.

Permaculture uses:

Food
Entertainment
Pest control
Weed control
Waste produce cleanup
Fertilizer factory (High Nitrogen Manure)
Heater